


Before you commence creating experiences on GMetri, it is always good to have a clear outline of what you're building.
While there are many ways to create a storyboard (we have seen some great examples across our clients), here is an outline of our internal story-boarding process, something you could simply use to get started.
Experiences are Stories
Great experiences have a strong narrative, subtle or otherwise. Being the personal experience VR is, all your viewers are the protagonists of their own stories.
Creating a great storyboard solidifies this story and gives it structure and appeal. This is a process that would require brainstorming with key stakeholders involved - you get more ideas this way, and align early on the intent, content, mode and narrative.
v1: Context
A baseline of the story should be created from the project brief. To arrive at a baseline story we first need to identify the following:
- What is the purpose of the project?
- Who is the final user?
- What does the project creator intend to impart to the user?
- What is the main target device / hardware that will be used for viewing the project?
- What are the KPIs that will define the success of your experience?
User profiling should include these key points:
- Age, Demography
- Tech Literacy
- Language preference
- Understanding Level of your content
- Interest levels and incentive to view your experiences
v2: Baseline
Once we have identified these, we proceed to create a skeletal storyline of the project - the baseline. It will include the following:
- What is the problem identified from the project brief
- The solution to the problem in a quick narrative
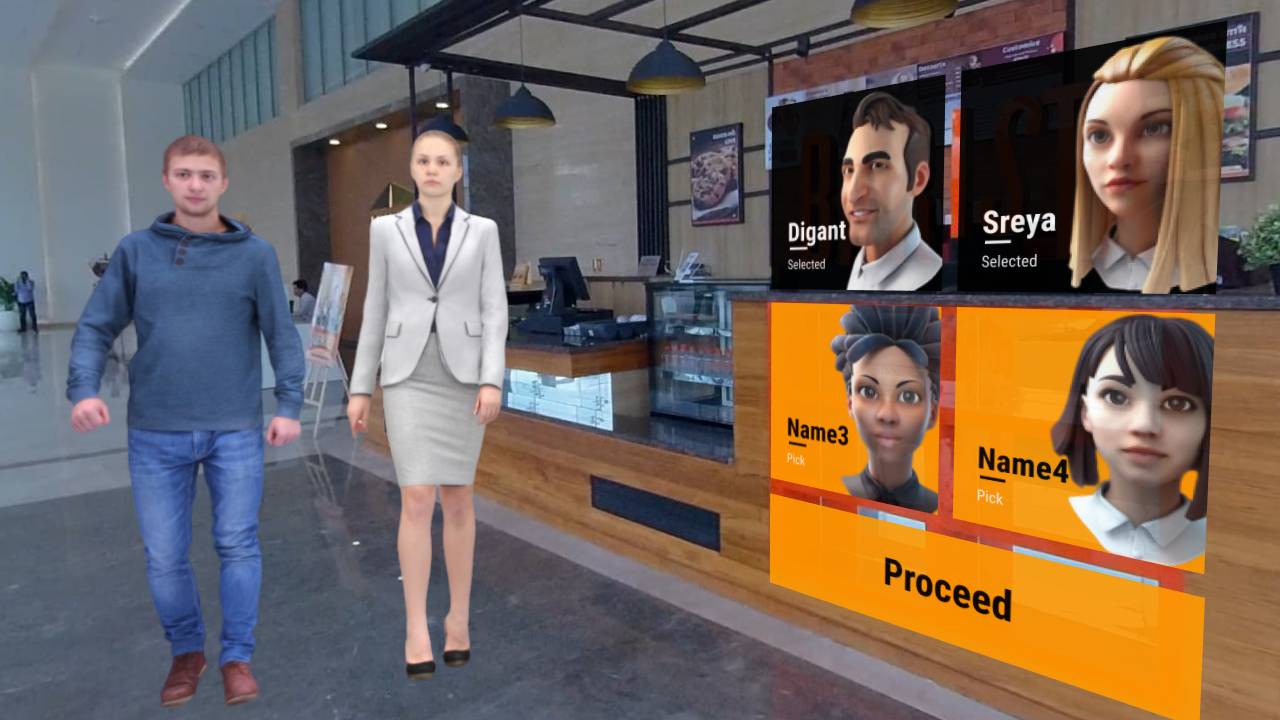
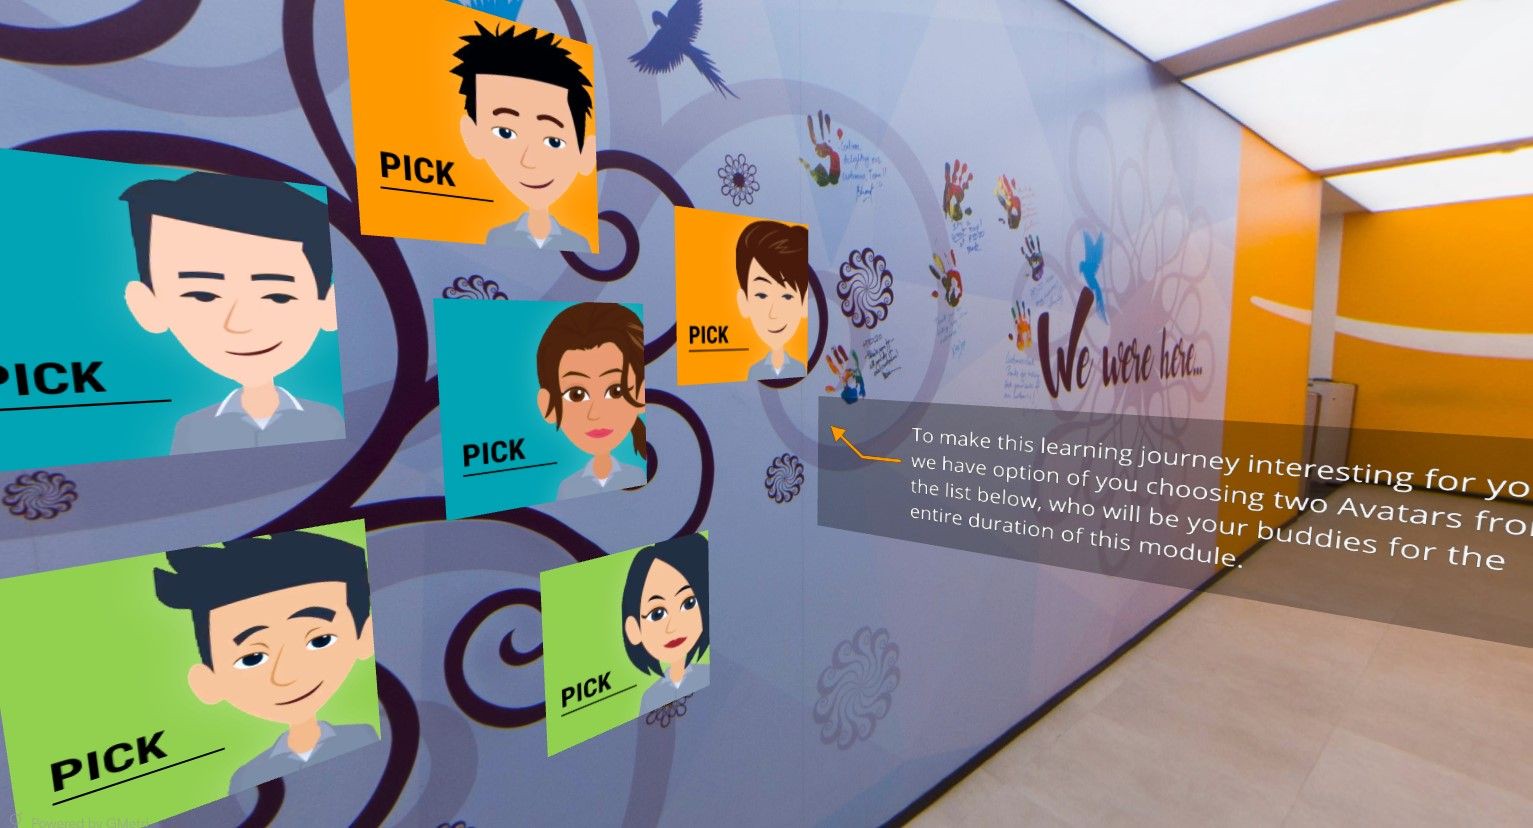
- Are there any characters in the project other than the user, and if so what is their relation to the user and how will they interact
- Identified scenes/scenarios to efficiently put out the solution
v2: Sketches
Once we have a baseline story, we sketch out all the scenes that will best work for the identified scenarios. These sketches will add a few details to the baseline and will inform us of how well the scene will impart its story to the user.
These sketches also involve the identification of:
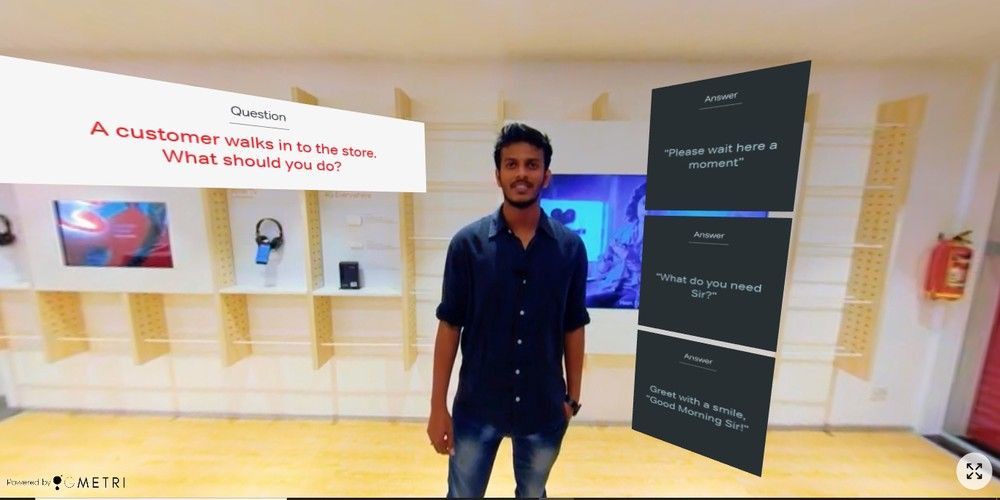
- The different scenes of your experience, and their intention - learning, assessments or engagement
- Where is the user led by the storyline (game-terminology: Cut Scenes)
- Where is the user interacting with the story and how this affects its progression
- Will the interaction of the user affect the storyline frequently? If so, we make a the decision tree for different scenarios within the realm of possibilities.
- The design language, and branding of the experience
v3: Storyboard
The sketches have now fleshed out our baseline story with some details. It is time to make it into a functional script that will help everyone involved, including the execution teams, to understand how the project is going to be created.
Keep the following in mind to help you make the experience wholesome to keep the user engaged:
- Maximum involvement of senses - Change the perception of the user by affecting multiple senses - visual and auditory at the least
- Introduce new elements while keeping content relate-able
- The vibe of your experience - how does the placement of elements impact this?
- Motion - introduce movement to add dynamism without overdoing it so it doesn't become distracting
- Design Language - determines the mood and character of objects in your scene
- Color palette - affects emotions
This will involve:
- Identifying shoot locations (if required)
- Finalizing the different characters and their roles (including dialogue)
- A mood-board to understand the visual styling
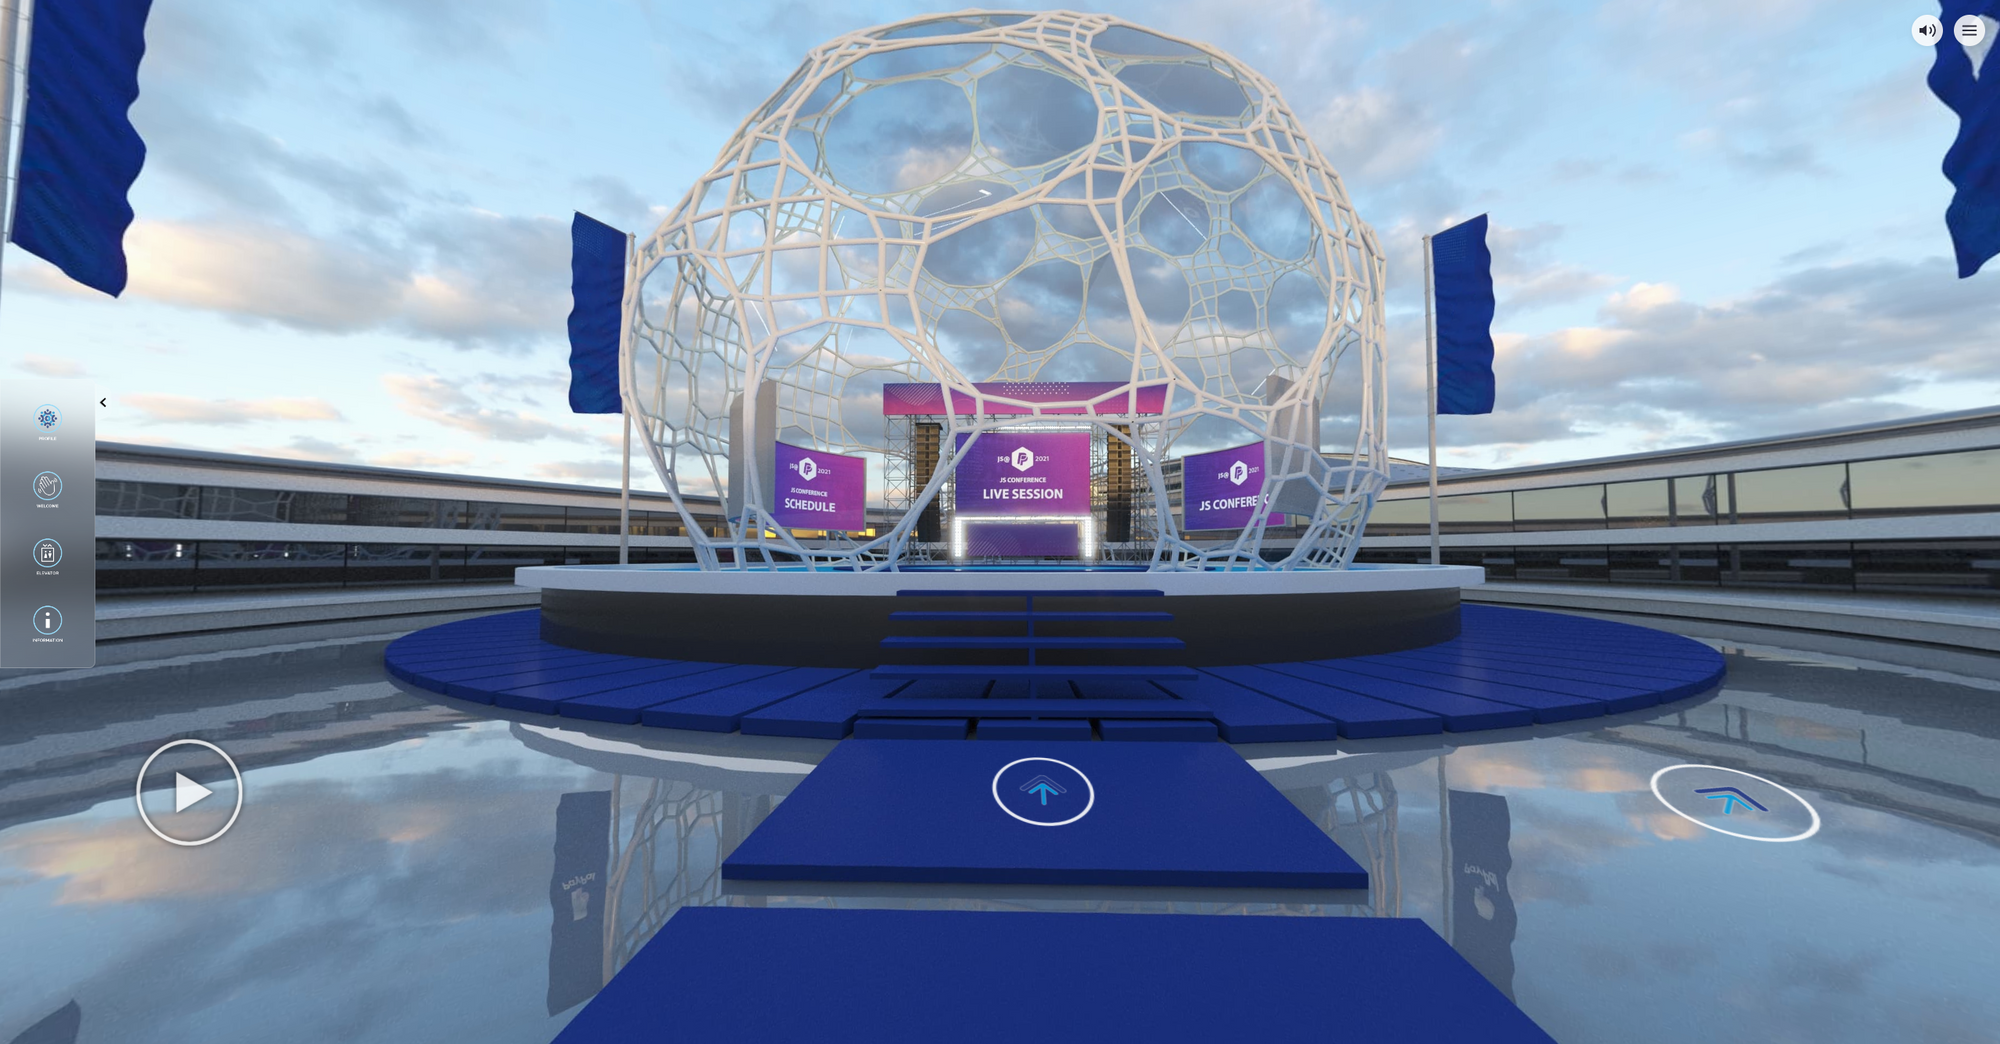
- All assets required for construction of the scenes (approach creatively and use the 360° space as the canvas)
We can create the storyboard inside the editor using primitive shapes and elements. This will give us an opportunity to think spatially and come up with better ways to represent different scene elements so that they are incorporated within the environment naturally. You can also enable the Green Screen Effect in your XR experience.

